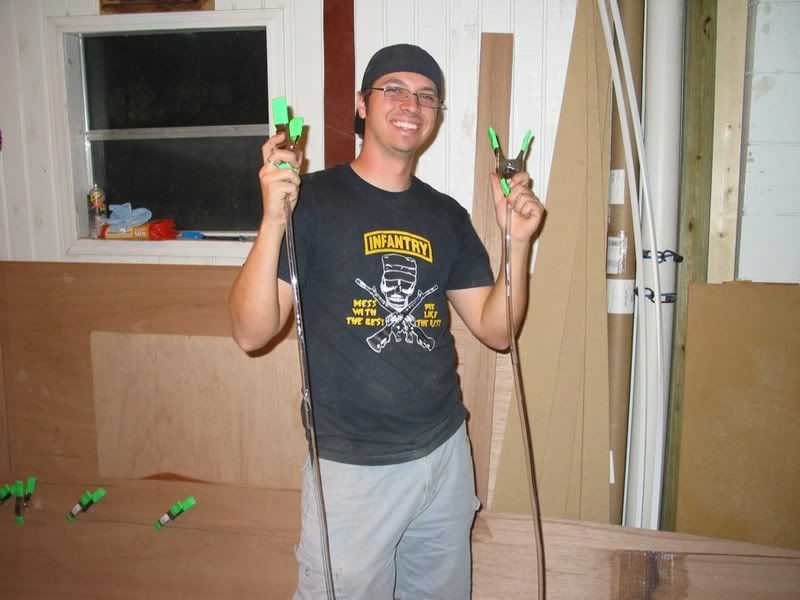
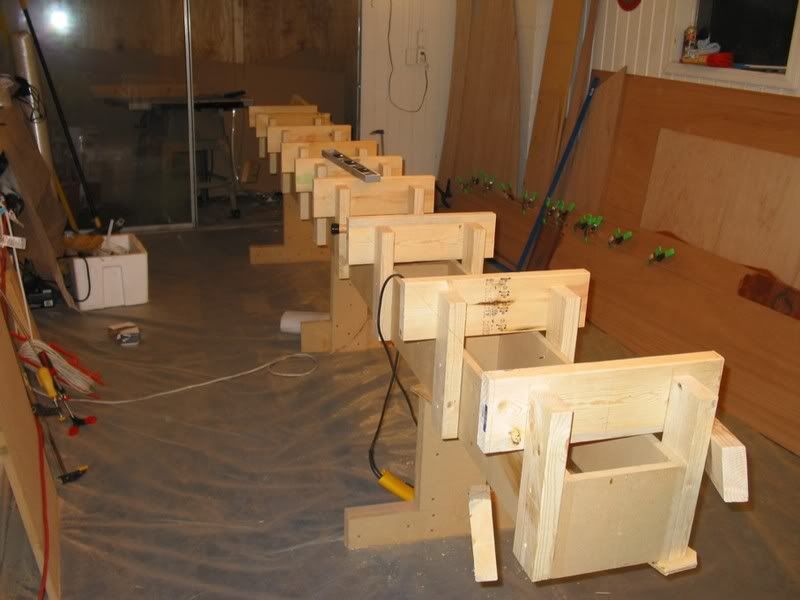
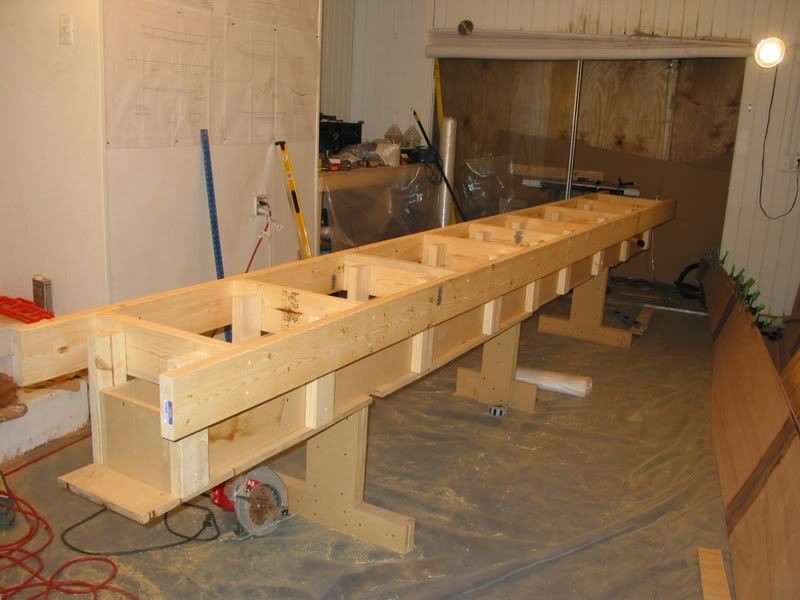
This page will hopefully chronicle the building of the Flats Stalker 18 from Bateau.com, a plywood composite skiff intended for chasing redfish in extremely shallow water. This will be my first foray into both boat building and web pages. Wish me luck! The posts on this page will only display with the most recent at the top, so if you want to start at the beginning, scroll down to the bottom and work your way up. The archive on the right is in chronological order, however. Most of the pictures can be clicked for a larger image. Feel free to leave comments by clicking the Comments link at the bottom of each post.

Wednesday, May 9, 2007

A Fly in the Ointment

I'm making some headway on the fairing. I feel like the hook is close to being done (plus I'm tired of looking at it), so I started pulling fairing compound foward today. I also pulled the first coat on the transom. I feel like the rest of the hull will go more quickly than the hook because I'll just be smoothing out the lines left by glass overlap, filling small imperfections, etc. I'll have the hull to use as a guide. With the hook, I've basically been sculpting a new bottom out of thin air, which is taking a lot of time. Today, the DHL man brought me a big vat of Quickfair and a resupply of spreaders, stirrers and cups, which should get me through the bottom of the hull at least, so I'm good to go. I need to find a flexible straight edge to pull the Quickfair up near the bow. The radii on the curves are much tighter up there and the piece of aluminum saw guide I've been using won't work on anything with much compound curvature. I'm told there is a large sheetrock knife at Lowe's that might do the job.

Frank finally finished his cedar strip canoe and it's pretty sweet. For pictures, check out his website through the link in the sidebar.

I went out to trim up some half-cured Quickfair tonight and found this robber fly stuck to the hull, a victim of the fast curing fairing compound. These guys ambush other insects in midair, especially honeybees, drag them to the ground, and suck the life out of them. Karma's a bitch sometimes, I guess.

Thursday, May 3, 2007

You guys thought I gave up didn't you? I haven't been posting because with this fairing process, there's been a lot of work, but there hasn't been a whole lot of visible progress. The whole boat has been sanded with the RO, filled with a thin fairing slurry and then sanded with the RO again. I mentioned before that I had about a 1/4" hook in the bottom of the hull a couple feet foward of the transom. This was much more minor when I was stitching up the hull, but the buildup of fiberglass where the transom meets the hull made it deeper. It took a lot of time, but I used Bayport Bob's method and filled and leveled at the keel seam and chines. This was done with a longboard. I then dumped a bunch of fairing compound in the gap, and used a straightedge to drag it down the boat. You can see the filled back end here.


The right side has about an hour with a longboard put into it. The left side is untouched. You can see the low spots where the board didn't hit. The edges are purple because they were done with the epoxy/microballoon mix. The filler is QuickFair. This stuff is awesome to apply. It comes in two buckets, one part has the consistency of cake icing and the other of warm Crisco. I weigh them out on the same sheet of plastic, mix with a spreader and then apply to the hull. The mixed product has the consistency of mayonnaise and pulls across the hull really smoothly. It works great. I won't say how much is in the hook. An embarrassing amount.

I also have been squaring up the chines on the back 2/3 of the boat. They had to be rounded over for the glass to take the bend but the boat should corner better with a harder chine.

The final product won't be this sharp. Once they're fair, I'll put a small radius on them. They still have a ways to go.

The bow curve wasn't very fair and I wanted a slightly less canoe look up there. Again, it needs more work, but it's getting there.


Too put it bluntly, fairing is miserable. It has to been done manually, which is agonizingly slow, and I'm not real clear that I'm even doing it the right way. I have a long, long, long way to go on this. Keep plugging I guess. All the previous steps were short enough that the next new thing was just around the corner. Not here. It's tedious. This is where a lot of people give up on the project. I can't though. When I sit on the couch, the thing mocks me from the garage. "I can hear you in there, Elie. Come finish me. You'll never catch another redfish on that flyrod if you don't finish me. You know who doesn't finish boats, don't you? Hippies, that's who. You're not a hippy, are you? ARE YOU?"

Damn boat. On a positive note, Clutch has created what might be the ultimate boat building music in their new album, "From Beale Street to Oblivion". Songs about giving O'l Scratch the boot. Check. Songs making fun of vegan bike punks. Check. A song called Mr. Shiny Cadillackness. Check. Bluesy yet totally ass-rocking. Chiggity-check. Cole burned it for me and it's my current fairing music.

Also, there is a new website dedicated to the class of boat I'm building. It's called www.microskiff.com . They had a get together last weekend that I went to and got a lot of advice on setup from people who fish these boats every weekend. It was a great experience. Many thanks to all the people I talked to. I also got to spend most of the day on the bow of a Hell's Bay Whipray (Thanks Jason). What a sweet skiff. Anyone out there who wants to trade a Whipray for a partially faired FS18 hull, please contact me. I think we may be able to work something out. Didn't have a whole lot of luck with reds though. Spooked several hundred, but only managed two this size.

I've never seen fish that skittish. More to come as soon as something noteworthy happens. Click on the map in the sidebar to see where people who check out the page live. Don't ever say people in Russia and Australia don't like the FS18. I have the proof.

Thursday, April 19, 2007

Quick Fairing Update

A quick update on the fairing process. In the first couple feet foward of the transom, I've got a pretty good amount of hook, which is basically a depression in the hull. This can negatively affect the way the boat performs on plane, so it needs to be filled, making the back 6-8 ft of the boat a straight run. Bayport Bob had a similar problem and spent a lot of time trying to figure out the best way to correct it. He's had the best success by trueing up the keel and each chine. These can then be used as guides in the same way that wooden forms are used when pouring a concrete sidewalk. The area between the chine and keel lines are filled with fairing compound and and it is pulled down the hull with a straight edge laid across the panel in the same way that the sidewalk is leveled off to the wooden forms. After screwing around with the fairing compound a bit, I think this really is the best way to go. By tonight I should have the keel and chine lines pretty close. I made a longboard by gluing the biggest belt sander belt I could find onto a piece of hardboard and gluing a couple handles onto the other side. I used it on the keel last night and I think that it will help enormously in getting things straight and fair. I may make one out of scrap 1/4" ply too as I think that a stiffer version might be even more useful for the back half of the boat where everything is pretty flat. As I had hoped, the fairing compound has turned out to be much easier to sand than anything so far. I'm sure I will get tired of hand sanding, but right now it's a welcome change from the noise and fiberglass hell that is the random orbit. Will post again when I have something good. Right now, it's just puddles of purple stuff on the hull.

Friday, April 13, 2007

The Fairing Begins

Well, the bottom glassing turned out pretty well overall. It seems we should have used a little more epoxy than we did with the peel ply, because when I pulled it off, the surface wasn't totally uniform.


In places the weave didn't fill in completely, but the peel ply did smooth things out nicely and sucked excess epoxy out of areas where we'd put too much. Places where the weave didn't fill in all the way looked like this.

First thing to do was a quick pass with the sander to open up all the little pockets a little bit. This is my current setup.


The shop vac really eliminates most of the dust, makes your sandpaper last longer, and in this case, kept all the little holes from getting filled with sanding dust. A little information for the uninitiated: surpassing the previous champions, diamonds and a mid-90's Phil Anselmo, epoxy without any fillers is officially the hardest thing in the world. It laughs in 60-grit's face. But a little bit of time last night and I had the weave opened up a little.


The peel ply really did suck things down pretty well because if I sand just a little below the surface, I start hitting glass. Next, I mixed up a very thin fairing compound. A mixture of phenolic microballoons and silica is added to the normal laminating resin to thicken it to the consistency of runny ketchup. I smeared this all over the hulh with a spreader, making sure to make some of the passes in the direction of the weave. The purple color is from the microballoons.


The mix was made so thin so it would settle down into the weave and it worked great. It's tough to capture in a picture, but the weave filled most of the way in, with very few of the pinholes that indicate a bubble was trapped inside.

I have a ton of sanding to do on the sides of the boat and around the transom. The peel ply made a mess in these areas. I already hit them with a paint scraper, so that should cut down on time a little. I'll fill the weave on the sides and then probably switch from the microballoon mix to Quickfair. This is a Silvertip product that is basically like epoxy-based marine bondo. It's very thick, cures in three hours, and sands like butter. It's also pretty expensive. I'm in the fairly common position of being both poor and fundamentally lazy. But to me, it's entirely worth it to spend an extra $50-100 on the hull if it will save me hours of sanding time. I haven't even started the real fairing yet and I already detest sanding. I have to admit that the idea of the amount of work I'm going to have to do to get this ready for primer is a little overwhelming. I let it rest for a few days to try and relax but everytime I do that all I think about is how I'm going to do the next step. The thing won't leave me alone. I'll just try and follow my plan of getting at least one thing done each day and I'm sure it will all come together.


Sunday, April 8, 2007

Bottom Glass

The bottom glass is done!! This is a major hurdle in the build, and one that a lot of people worry about, but having helped with the glasswork on Frank's canoe, it seems it just takes time and attention to detail. The night before Cole and I laid out all the pieces of glass that we would use and trimmed them to size. Then we rolled them onto pieces of PVC for storage. For those of you doing this, first press the tape you use to secure the rolls onto the hull or something to cut down on its tackiness. Too sticky and you'll destroy the glass when you pull it off. This morning I put a layer of epoxy onto the hull. Cap'n Gnarly surveyed from the Crow's Nest.

I've mentioned before that this coat saturates the wood and prevents it from sucking later epoxy coats out of the glass. You have to make sure that the precoat starts to set up for this to work though and with the cold front, it took a couple hours to get tacky. I then called up the build crew so we could get going. Frank and Cole showed up with a quickness in their matching Jeep Cherokees. The Flatsstalker Army had arrived. It's hard to overstate how much help these guys were today. Pure gold.

Right off the bat, the epoxy started flying. Frank has to developed a pretty burly allergy to the West epoxy he used on his canoe and didn't want to risk reacting to the Silvertip, so he was the designated mixer for the day.


For those paying attention: yes, that is a pubic louse on his shirt and yes, the tag line does say, "Crabs, the butterflies of love". The French term for crabs is papillon de amor (or something close to that), and that's what it means. We just call them crotch crickets. Entomologist humor is a unusual at best. These are the people I work with everyday. Yeah, I know.

With epoxy all over our hands, we didn't get pictures of every stage of the glassing, but we snapped a few every hour or so. First, the chines, keel, and edges of the transom are laid up with biaxial tape. There are 3 layers on the keel, 1 on the chine and, two on the transom.

Where the tape is layered, the edges are offset to make fairing easier later. (Note: I have differed from the designer's recommended lamination schedule, with what should be a minor decrease in strength. I do not recommend doing this and if you choose to, do so at your own risk.)

With some discussion on the best techniques, we settled on:
  • Frank mixed in a cup and poured into a disposable tupperware container that Cole was using.
  • Cole slopped the epoxy onto the tape with a chip brush.
  • After waiting to let the epoxy soak in I used a flexible spreader to move the epoxy around, force it into the glass, and make sure the fibers were oriented properly.
Here's the completely taped hull and Frank sampling the epoxy for some reason. It does smell kind of sweet I guess. Tragically, he died later that day. He always was a dumbass.

Gaining some confidence with the tape, we moved on to the sheet of bottom glass. This is the same material as the tape (12 oz. biax), but in a 50" wide section. We made something of a mess getting it straight on the sticky hull, but once on it laid out nice. We abandoned the brush with such a large area, and simply poured straight from the cup and used the spreaders to move the epoxy around. This glass soaks up a lot, so having a dedicated mix man is a huge time saver.

The roller in the foreground here was fantastic for getting air out of multiple layers of glass.


The area by the transom has a lot of overlapping layers of glass which makes it something of a bastard........

.......requiring the triple team.

Since Frank's mixing duties weren't full time, he was able to jump in and touch up areas that needed attention.

Before long we were finishing up at the bow. Once we finished every 6 feet or so, we would stop and put on a layer of 60" peel ply. I broke down and ordered some real peel ply and the stuff is awesome. It a polyester fabric. When pushed into the glass, excess epoxy bleeds through to its surface. It should eliminate most of the weave pattern in the final laminate, and help to keep the glass to epoxy ratio equal, making it stronger. What you're looking at in these pictures is the peel ply not the glass. When I pull the peel ply off tomorrow, the actual glass and epoxy should be pretty smooth with a matte finish ready to accept fairing compound. Let's just hope it comes off.


The actual glassing, from tape to peel ply, only took us five hours. That's killer. If I'd done it alone I could expect closer to 15. This would mean I would have to do tape and fabric separately. What we did today is termed working "wet on wet". This means that each layer, the precoat, each layer of tape, and the fabric, was wet when the next was applied. What this gives you is a chemical bond between each layer, essentially making the wood and up to 5 or 6 layers of glass in places one cohesive whole. Nice. It also makes fairing easier later. The alternative is sanding between each layer, basically making a mechanical bond between each layer. This brings the weak. The Flatsstalker Army made my boat stronger than I ever could have done on my own. This is why they rock the house and will always have a spot up on the bow whenever they want to catch some reds.

This is the first time in the build that I've been really pumped about how one of the building steps turned out, the first time I thought, "Man, we really kicked that one in the face." I couldn't be happier with the glasswork. I hope I still feel the same way when the peel ply comes off tomorrow. I'm tired. I'm going to bed... just as soon as I see if the epoxyis green enough to scrape out the runs.


Thursday, April 5, 2007

Sanding

Holy balls, am I tired of sanding?!!!!! I should know. I do it everyday now. Come home from work. Slap on some 60 grit. And go to town for an hour or two.

Sand. Fill. Sand. Fill. Sand. Fill. But I feel like I'm getting somewhere. The boat is close to being ready for glass. It better be because come hell or high water, I'm glassing the outside of the hull this weekend. To prove to everyone that I really have been working on the boat, here are some pics.


The bow still needs a little work, as does the keel line where the bow starts to turn up. Overall it's shaping up OK. It doesn't really show up well in the pictures because of the patchiness of the filler, but the chines are smooth. The quest for perfection eventually turns into the hope that "the best I can do" doesn't look like "a big piece of crap". I mean how good is good enough? I don't freaking know. I've never done this before. But however good it looks tomorrow night, that's about as good as it's going to get. Cole and Frank will be around this weekend, this cold front is going to screw up the fishing, and I'm tired of smelling like epoxy dust all the time, soooo.......bring on the glass! Updates as soon as something cool happens.

Friday, March 30, 2007

Welcome to my weekend.

For those of you building the round chine, if you don't stitch it up fair enough, this could be your weekend too. I've been trying to hit them up every couple days for an hour or so, but I have some time this weekend. That means some serious sanding. Since the garage attaches to the living area in my house, I usually feel bad making that much noise for too long. The timing is good though. I need to have everything ready for next weekend, because Cole and Frank will both be in town and willing to help me tackle the bottom glassing. Sweet.

I've found that hearing protection and an Ipod (read sick jams) are critical to this phase in the build. While you can find a groove and become one with the sander, music helps immensely in attaining this groove. The sixer of Full Sail Amber Lager just adds fuel to the rock. I in no way condone operating power tools while drinking. Unless you're sanding for extended amounts of time. Then it's almost a necessity. Don't think for one second I won't sand like a madman while listening to CoC's "Heaven's Not Overflowing" or "Albatross". Don't you ever think that.

Sunday, March 25, 2007

Round Chine Stitching

This part is tough. For the most part, the rest of the boat has gone together pretty well. There is very little stress on any of the other stitches except where the bow comes together. I've spent about 10 hours stitching up the round chine and I've reached my "Rage Threshold". This is the point where putting more time into the project would not significantly improve it, but would begin to make me super pissed. I've created this graph to illustrate the concept.

The chine begins to form pretty easily towards the middle of the boat. The closer you get to the bow, the more strips come into play and the more outrageous the amount of twist they are expected to take. Here's one side stitched up and the other loose.

A view from a different angle shows the biggest problem with the chine. For the most part, the strips aren't expected to do anything unreasonable. The exception is where the strips cut from the bottom panels meet at the bow. By this point they have almost a 90 degree twist in them and they aren't very happy about it. This is how they want to sit.

The majority of the time put into the stitching deals with fighting their stubborn desire to NOT twist. The side panel strips don't really make too much trouble. After LOTS of tweaking I reached the point where I didn't think that I could get it any better, and slapped a sealer coat of laminating resin on the places I planned to "tack weld" with epoxy putty.

Once it started to set up a little, I mixed up the first of three batches of EZ Fillet. This stuff is a loose putty that is best measured out by weight. I bought a digital kitchen scale at Bed, Bath & Beyond to do this and the accusing look that the cashier gave me made it pretty obvious that she thought I was dealing weed. Ahhh, the joys of living in a college town. Once I had the stuff mixed I dumped it into a ziploc bag, sealed it, and cut the corner off. This is used like a piping bag to run a bead of fillet material on the exposed joints between the zipties that hold the boat together.

I came back with an auto body scraper and smoothed the beads and runs out when I was done. Once it sets, the zipties are removed and with any luck the bow doesn't explode apart in a shower of splinters and shattered dreams. Any remaining exposed seams are filled and then in the case of my monster of a chine/bow, I will fair and fair and fair and fair. Ad naeseum. To the uninitiated, fairing means that I will sand and fill the bejesus out of this:

......until all those little strips and runs and holes look like one smooth, pretty surface. It's gonna be rad. Once it's done, I can glass the outside of the boat and then fair the entire hull. For those of you who are thinking of doing this, here are a couple tips:

  • A small section of PVC pipe behind the stitch can help keep things aligned. I found it useful to have 1/2" and 3/4" pieces as the different radii are useful in different situations.
  • When cutting said pieces of PVC on a miter saw, use a blade with lots of teeth and wear eye protection. Or do like me: use the blade that came with the saw, close your eyes on each cut, and try not to let the shards of plastic death that fly out every 3rd or 4th cut bother you.
  • When stitching, start at the point furthest from the bow. You only have to deal with a couple strips instead of 6.
  • If things go out of whack, cut out the stitch and do it again. It's not going to get better.
  • I put about 150 stitches in to the round chine and bow. I climbed under the boat for every one. Crawling in and out from under the boat over and over again will significantly lower your Rage Threshold. Walk away if necessary.
  • Music is a necessity at this point. The stitching is tedium. I recommend punishing metal to match the mood of the endeavor.
  • If you are going to do the round chine you absolutely cannot build on the decks like is recommended in the building notes.

Sunday, March 18, 2007

It's A Boat!!!!

After this weekend, this thing is finally starting to shape up. Let's get started. There are two temporary frames that define the shape of the boat where the cockpit will eventually be. These are cut from cheap materials.

Supports were attached to each frame in order to attach them to the strongback. First they were clamped on.

Then Frank's drill press contraption was used to drill pilot holes for the screws.

Each frame was attached to the strongback using the supports. Each frame has to be adjusted for height level and square. It's kind of a pain in the ass, as each adjustment in one dimension throws the others out of whack.

The stringers were fit in the notches, but the notches weren't deep enough. A few passes with the jigsaw fixed the problem. Here the nearest stringer has been fixed.

Once everything was lined up, it gave a pretty good indication of the shape of the boat.

Next the bottom panels were lined up and the holes for the stitches were drilled the edges.

The panels were then opened up like a book and placed on top of the jig. The side panel were then stitched onto to each side.


I forgot to seal the edges of the transom, so I have to wait for the epoxy to set before I can screw the panels down. Everything lines up pretty well. The bow takes a good bit of force to cinch up and pulls the panels away from frames A, B and C. It will take a little tweaking. The round chine will take a lot of tweaking, however.

Even though this looks like the monster from Tremors, it will eventually be a the front of the boat. It's going to be awesome. I promise.


Thursday, March 15, 2007

Strongback Part Deux

Well, after a week of inactivity, Cole and I figured it was about time to get back to work. I've had some other things stealing my boat time. But the Cap was starting to sulk,


“Arrrgh. It be cold and dark in here, and all me mates be long dead and gone.”

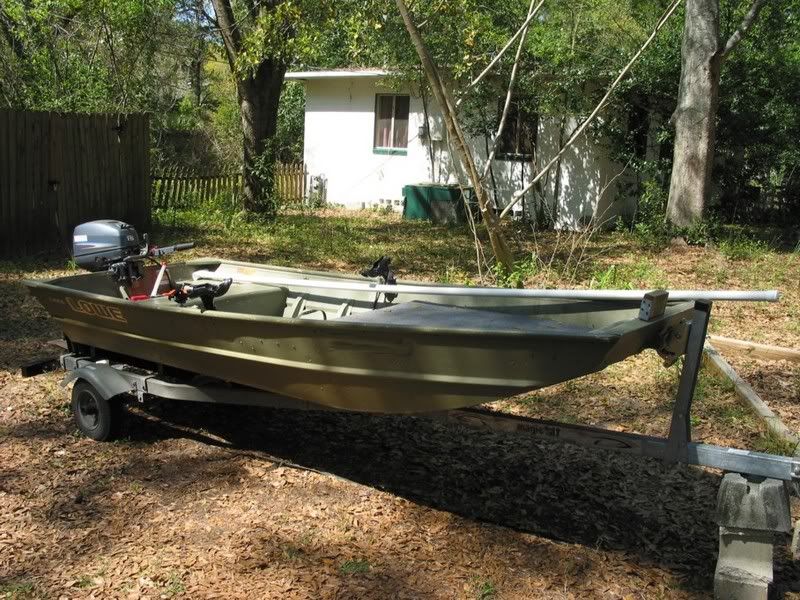
So back in the garage it was …….... right after we went fishing. I’ve been so consumed with the boat, that I had forgotten that it had been a couple months since I had last gone. So we took out my current boat, the “Hell Yes”, looking for anything that would bite. We had to run around to find the fish since it had been so long, but we caught a few. We each ended up with about 10 upper/over slot trout and one red. Half on fly, half of Exude jerkbaits. Cole’s red was a very pretty multi-spot about 24”. Mine was a rat that brought what we refer to as “the weak sauce.” The Hell Yes has been the perfect boat to learn the ropes where we fish in the Big Bend of Florida, but can’t quite do the kind of fishing we want to become good at. Hence the FS18. Since we’ve gotten into flyfishing, we need a boat that can creep up on reds in 4”-10” of water, where they tend to be pretty spooky. Since the HY is aluminum with a flat bow, it beats like a kettle drum when being pushed and it’s tough to get closer than 100’ to anything before it flees in terror. I can’t cast a flyline that far, definitely not with any accuracy. Some items will be transferred from the Hell Yes to the new boat, mainly the motor. The totally sweet bow mount for the trolling motor will not. Yeah, it’s pressure treated. Yeah, those are sheetrock screws. Feel the fury. Feel it.


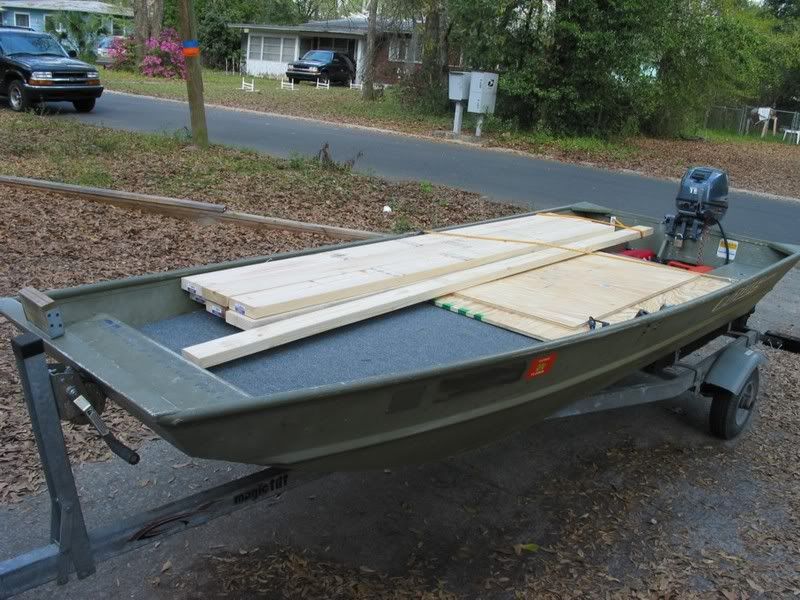
Watching red after red rocket off in fear as we got close to them was good motivation for the next days build. I needed dimensional lumber for the new strongback, but I don’t have a truck. This is when the Hell Yes forms like Voltron and goes into cargo mode. Its functions are many.


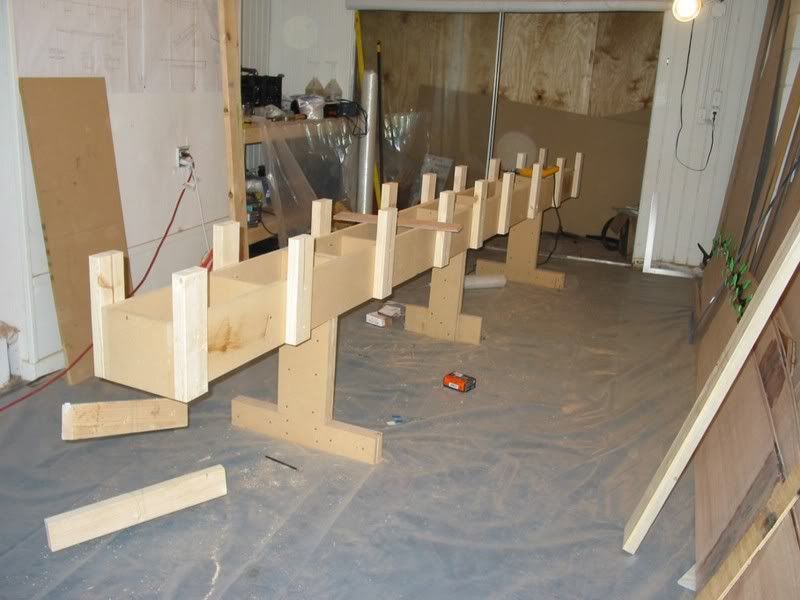
So began the somewhat arduous process of building a new strongback, one that is better suited to this build and more stable than the last version. Bayport Bob brought up a good point on his website that in order to construct the rounded chine, one needs access from inside the boat. This means that you can’t build on the decks like is suggested in the building notes. I basically am building a frame on top of the strongback, like Bob did, but am anchoring it down differently. First vertical supports were put on.


Then the first and last horizontal frame members were set up using a water level.


A line was pulled between the ends of these and all the middle framing was set up based on these lines.


Lastly, the perimeter frame members were attached to the horizontal framing.


Everything was checked with a level at each stage. It sounds reasonable, but took 2 days to complete, and Cole’s help made things much faster. I had to redo the whole process once when I realized that without the top, the strongback lacked the rigidity necessary to hold a boat. When I screwed supports to the underside, it knocked the thing out of wack and everything had to be realigned. I’m sure there is a more straightforward way to do this, but this is where my inexperience comes into play. It takes a lot of time to set it up this way, but I don’t really know any other way to make sure the base to build the boat on is a flat plane. I’m absolutely terrified that I’ll glass the thing together and then realize that one or more stations are wonky and my boat will look crazy. It would be best to avoid this. When I pull up to the ramp with this boat, I want people to say, “Hey, that’s a cool boat. Where’d you buy it?” Not, “Whoa man, what’s that? Did you BUILD that thing?” This setup will make double checking with a level possible when setting up the stations, which just makes me more confident. There’s a good chance some of the supports will have to be moved to attach the frames, but it is difficult to know exactly where the frames will go before you have the transom on. Actual boatbuilding this weekend. Rock.